Instructions

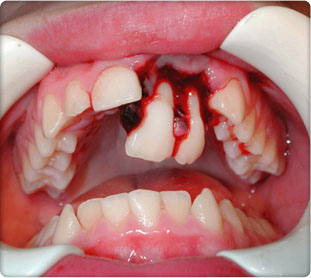
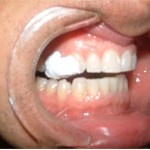
- Reduction: Reduce luxated tooth to appropriate position using adjacent uninjured teeth to reference appropriate anterior/posterior/superior/inferior position.
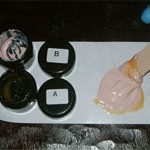
- Application of Temporary Solution:
- Use full sample of “A” and full sample of “B” place on mixing paper with tongue blade. Mix “A” and “B” together thoroughly using tongue blade on mixing paper to create putty
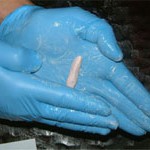
- Apply Petroleum Jelly to palm of hands until fully greased.
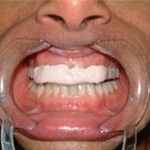
- Roll putty to doughy consistency forming approximately a 30mm hot dog shaped splint.
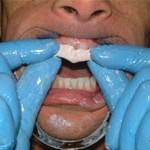
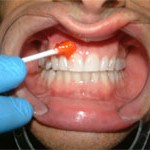
- Apply to dental alveolar area making sure to apply dressing to 2 teeth anterior and to 2 teeth posterior to dental alveolar fracture segment.
- Check setting of temporary splint by applying nail pressure and checking for indentations.
2A
2B
2C
2D
2E
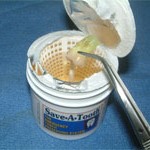
- Save-a-Tooth Place avulsed tooth into Save-a-Tooth solution (do not rinse off the tooth).
- Advise patient to see dentist ASAP and to bring solution with tooth in it.
1
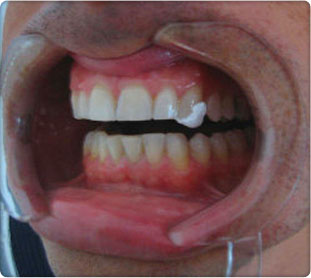
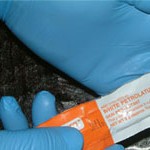
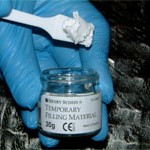
- Temporary Filling Material: Use enclosed spatula to apply small amount of Temporary Filling Material onto tooth fracture.
- Allow it to harden and advise patient to see dentist ASAP.
1
2
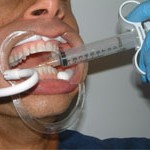
- Anesthesia: Use topical anesthetic (20% Benzocaine) enclosed.
- Localize with Lidocaine w/epi around gingival mucosa of dental alveolar injured segment.
- Retraction: Use cheek retractor supplied to retract lips to allow access to tongue or injured mucosa.
1
2
